Thursday, July 7, 2016

Finishing Up

Over the last few evenings, around usual summer busy schedules, I finished up a few locomotive projects - the 6437 as seen last month under construction, and then also the 2816, my first model of one of the B23-7's from Conrail's first order for those locomotives, delivered in 1977.


With each passing project, I am learning more about the balance of the different layers of weathering - thinned black washes, then dullcoat, then airbrush oversprays, acrylics, and finally pastel chalks.  I'm very pleased with how the windshield masks allow the area where the 'wipers work' to be different than the surrounding areas.


Big decisions are directly ahead relating to backdrop which will set the stage for the final big scenery installations, all of which will be discussed here soon.

This entry is a quick look at the projects that I keep busy with while the big stuff is on hold pending decisions.  As I have mentioned before, any progress is infinitely more than no progress on any given day.  Even a few minutes applying some weathering is worth it!

In family news, our Susie is turning 4 this coming weekend - hard to believe in many ways, but exciting in every way.  Here's a tight crop of a grab shot on July 4th.  She's become a little girl now, and a great big sister!  Happy Birthday Susie!


~RGDave


Tuesday, June 28, 2016

Slow & Steady

Summer is in full swing and for the last 8 years, that has meant less time in the basement working on the model railroad while spending more time outdoors with the kids, and visiting family and friends.  Later at night, though, I make time to get downstairs to make some progress.


I'm happy to report that CR 6437, my latest locomotive construction project, is coming along well.  In fact, all it needs now is weathering and it will join the fleet.  I added ditch lights and various details to match the prototype in 1994.  


The major scenery work is on hold pending some decisions about backdrops, but while I mull that over, I am working to finalize the track layout for the new branch line.  This will be called the Cazenovia Industrial Track, and will serve several new customers.  I find it very helpful to temporarily lay track out to see how it fits and feels, and think through the operation.  Planning ahead means doing less work two times.

Thanks to big progress in the cooler and wetter months, it always takes time to shift gears away from major progress.  However, it's still possible to make meaningful and lasting progress!  Enjoy the long evenings!

~RGDave

Wednesday, June 15, 2016

On Painting Plastic Handrails

A common task in modeling has always been the painting of models.  Model railroading in general has come a long way over the last few years, but painting remains part of the hobby.

As the hobby changes, there has been a move to the inclusion of scale handrails on models - they are beautiful. However, to make them more durable, they are molded from a slippery, flexible plastic, so they resist breaking when they are bent.

The issue at hand is that sometimes, those railings are molded in a color that does not match the paint on the model.  Look carefully at the handrail stanchions here - they almost appear to be purple against the bright Conrail blue on the stock Athearn 'RTR' SD40-2.


I had added new decking and see-through etched brass steps to this model, but that effort is much less effective when the handrails are the wrong color!

So, it was time to try and paint the railings to match.  The problem is many paints will not adhere to the slippery plastic.  Here, I recently tried a trick in using a product advertised as an automotive paint adhesion promoter - specifically, Dupli-Color's CP199 Adhesion Promoter, seen here.

This is nasty and toxic stuff - do not use this indoors.  I removed the handrails from the model, and went outside with the handrails attached to a painting jig to spray the promoter outdoors.  The instructions call for painting within 10 minutes of applying the promoter, so I was set up to go right to painting once the spray was done.


This is more like it - the handrail color now matches the body of the locomotive, and the paint is sticking to the handrails very well.  I will be using this trick in the future as needed!  For 6437, now I will move on to adding ditch lights, windshield wipers, and pilot details, then it's on to weathering.  After that this unit will join the fleet on the Onondaga Cutoff.

~RGDave

Monday, May 23, 2016

A Few Images

With spring in full swing in New Jersey, I'm tied up with outdoor maintenance and with family trips.  So, here are a few photos from the last operating session for you all.  These are taken with my iPhone, with brightness and a bit of cropping adjusted afterwards in Photoshop.

First, new C40-8W 6213 share shop space with a former Reading GP40-2:


A beat-up old Erie Lackawanna gondola sits in Onondaga Yard:


The backshop area at Onondaga Yard, after midnight on May 9, 1994:


WAON-10, the Onondaga Cutoff local job, returns to Onondaga Yard in the late afternoon of May 9, 1994 ahead of some rain showers:


Downtown Syracuse, NY, shimmers in the valley below as dwarf signals and a safety light glow at CP282, before dawn on May 9 1994.


Yard lights provide illumination for YAON-20, doing overnight classification work at Onondaga Yard.


Operation sessions provide lots of good opportunities for snapshots like this, and really let the 'creative mojo' get started.  Often it is images like these that can generate some more ideas for scenes, which helps to keep me interested.

Enjoy the turn to summer, and check back soon - there is always something changing on the Onondaga Cutoff!

~RGDave

Tuesday, May 17, 2016

Some Prototype Inspiration

Now and again, we come across a photo that is just asking to be modeled.  For the new branch line out of Onondaga Yard, I needed to construct an underpass where it crosses beneath the Onondaga Cutoff Main Line.  I had planned on a simple concrete tunnel, narrow and height-restricted to less than 16 scale feet.  

Last week, however, regular Trainmaster Rich W. forwarded a photo to me courtesy of Fred Chidester, which shows a bridge that has presented itself to be the perfect prototype for the underpass.  This deck-girder bridge, constructed in the 1930's or 1940's with the New York Central lettering and logos still obvious in 2016, will be replicated on the OC.


Atlas Model Railroad Co. makes a thru-girder bridge whose girders are a close match for this one.  It is a bit of a project to cut the bridge apart and then convert the girders for use in my situation, and I will document some of that project here.

With springtime comes the annual lack of time for layout progress, but we will keep pushing as always and present that here.

~RGDave

Tuesday, April 19, 2016

A Dream, Come True!

Ever since I can remember, 'Model Railroader' magazine by Kalmbach Publishing Company has been a staple of the model railroad hobby.  I've been a subscriber for decades, and it has long been a source of inspiration and of wonder for me - as a child, seeing these amazing layouts was defining over time. The idea of being published in 'Model Railroader' was a long-time dream for me.

I had practiced for the last few years taking some photos of the railroad, and sharing them with you here and with friends as well.  It's an entire subset of the hobby!

Due to a variety of timing and circumstance, I was introduced to the columnist for the new "On Operations" column in the magazine, Jerry Dziedzic.  He actually attended several operating sessions and very much enjoyed them, especially the overnight part of the operation. We enjoyed having him as an operator, as well!   Much to my excitement, late last year Jerry approached me with a request to feature the night operations on the Onondaga Cutoff in one of his columns, including a photo to help set the tone for the column.

I am thrilled to announce to you all that in the May 2016 issue of 'Model Railroader', you will find Jerry's column discussing night operations on the Onondaga Cutoff, accompanied by a photograph I took!   It's a fun read and a good issue overall.

Here's a few out-take photos from the shoot that eventually provided the photo editor the material he was looking for.  This is train SEBU, shown before dawn at Onondaga Yard, before making his pickup and set out.


The final shot was close to what Jerry and the editors decided they wanted.  This ended up being a process of about 4 different shoots to get to the final product, and it was a great experience to be able to go through the process of proofs, critiques, and edits with professionals.  I hope there are more to come!

Enjoy, and as always thanks for your support!

~RGDave

Friday, April 1, 2016

A Big Upgrade - A Ceiling!

It is fitting that on Conrail's 40th birthday, April 1 2016, that I would have a major upgrade to report to you on the Onondaga Cutoff!

Last night we finished up the installation of a new drop-in ceiling in the basement, covering most of the layout with a shield from dust and at least some sort of barrier for moisture that may come through the old wooden floors of my house (the near-disaster of spilled orange juice in the kitchen, directly over CP 280, comes to mind).   Further, we've added a MUCH tighter appearance to the layout - without all the chaos visible above, the eye travels naturally to the scenery and models.

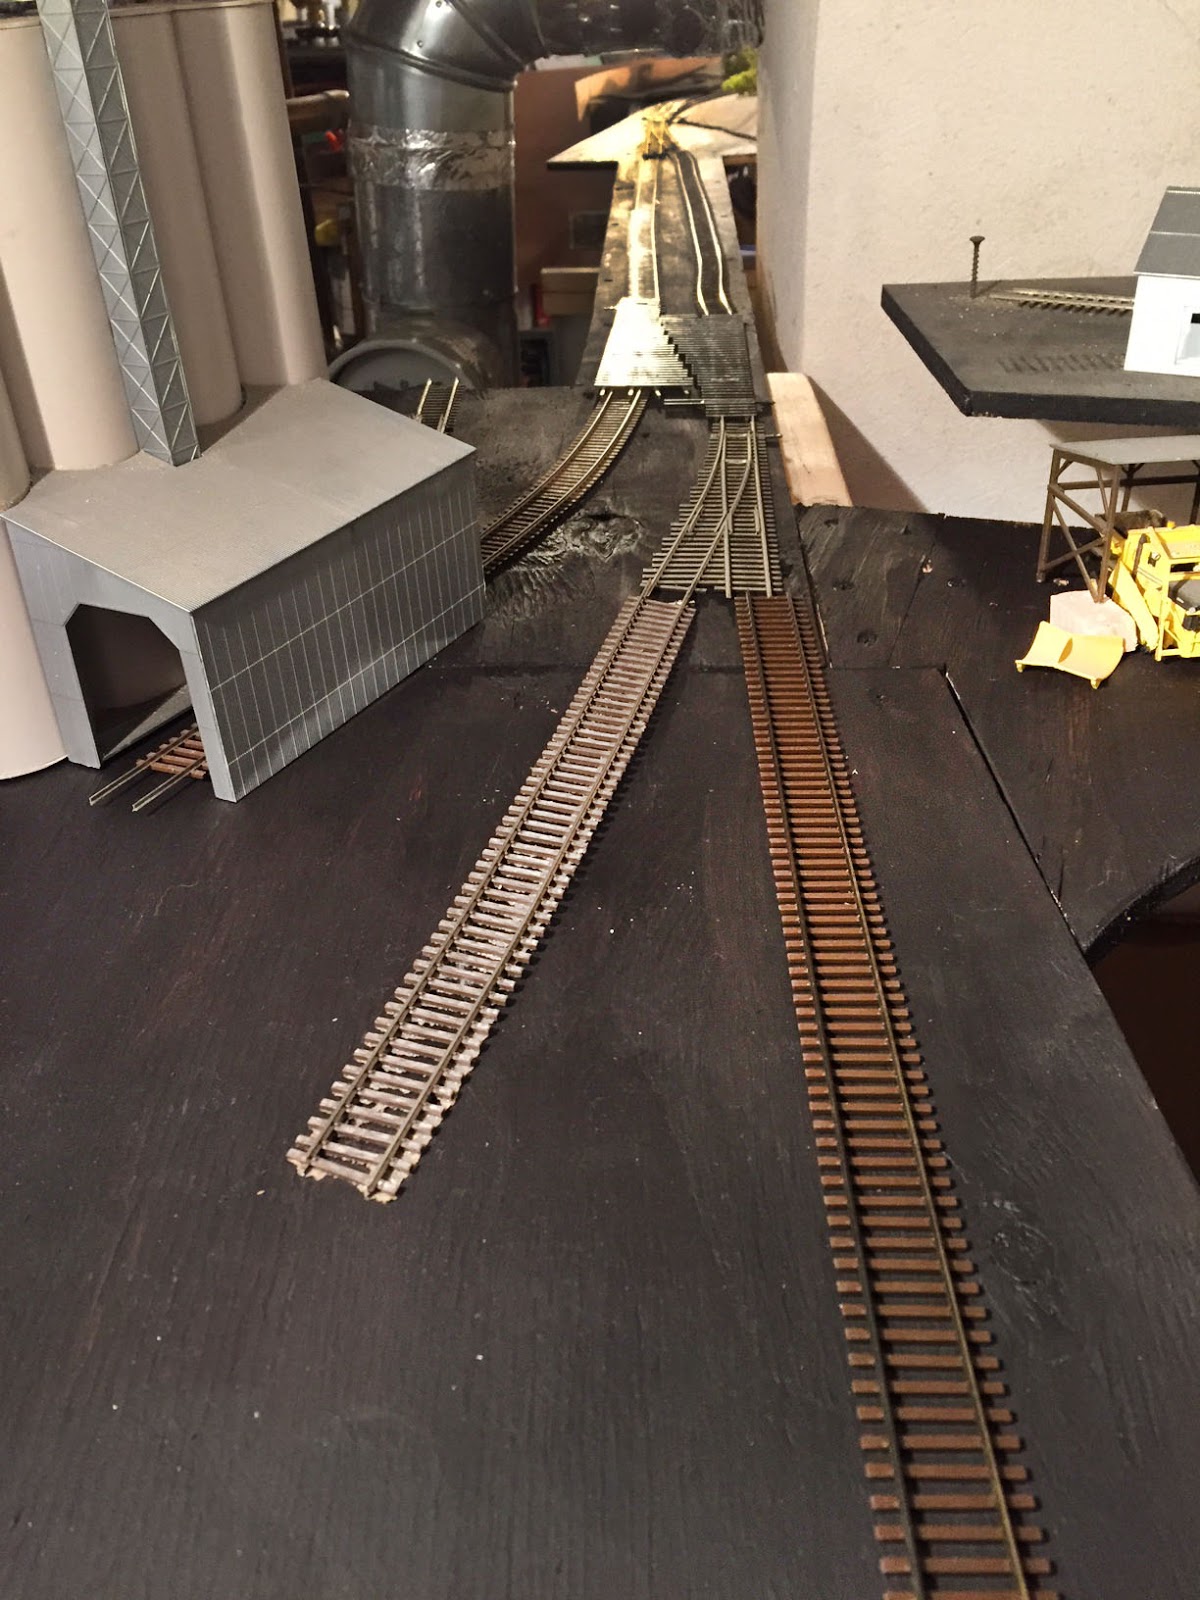
Here's an opening view, pre-ceiling.  You can see the laser line if you look closely, showing where the finished elevation will be.  This tool helps to 'see' the finished height.


Once the line is set, the contractors built a grid of aluminum framing, and I started to move the lighting from the rafters to the grid (as well as label the grid at critical spots, where valves and junction boxes would be hidden).  I also installed light plastic 'dust jackets' to the layout to aid in clean-up.


Once that was in place, it was time for the contractors to come back the following day and install the tiles - this was like watching an artist.  These cuts have to be perfect.  I was happy to have professionals on board to install the grid and make the tough cuts.


What a difference!  I am amazed at just how different it looks with the ceiling in place.  There are a few adjustments to make, including lighting and such based on operator feedback, but I think I am going to be very happy with the changes in the room.

Here's a comparison for you - the Iroquois area with the grid, and then the Iroquois area with the finished ceiling:


I feel as though the space for the layout went from 'amateur' looking to professional-looking, all in two days' time!  I am hoping this cuts down on track cleaning, and offers some protection to the layout, but also hoping this is a more enjoyable place to spend time with the new clean look.  One thing that is for sure is that it is now time for backdrops to be finalized - I am looking at photo backdrops, but that is a post for the future!

Best wishes into April!

~RGDave