Tuesday, November 21, 2017

November Interchange

Last year, we were invited to have the Onondaga Cutoff be part of an annual round-robin series of operating sessions where a group of layouts in New Jersey are open for a group of modelers and operators from Virginia and Maryland to visit and have a guest operating session.   It was a pleasure to meet so many other modelers of note and to host such a great group of operators! 

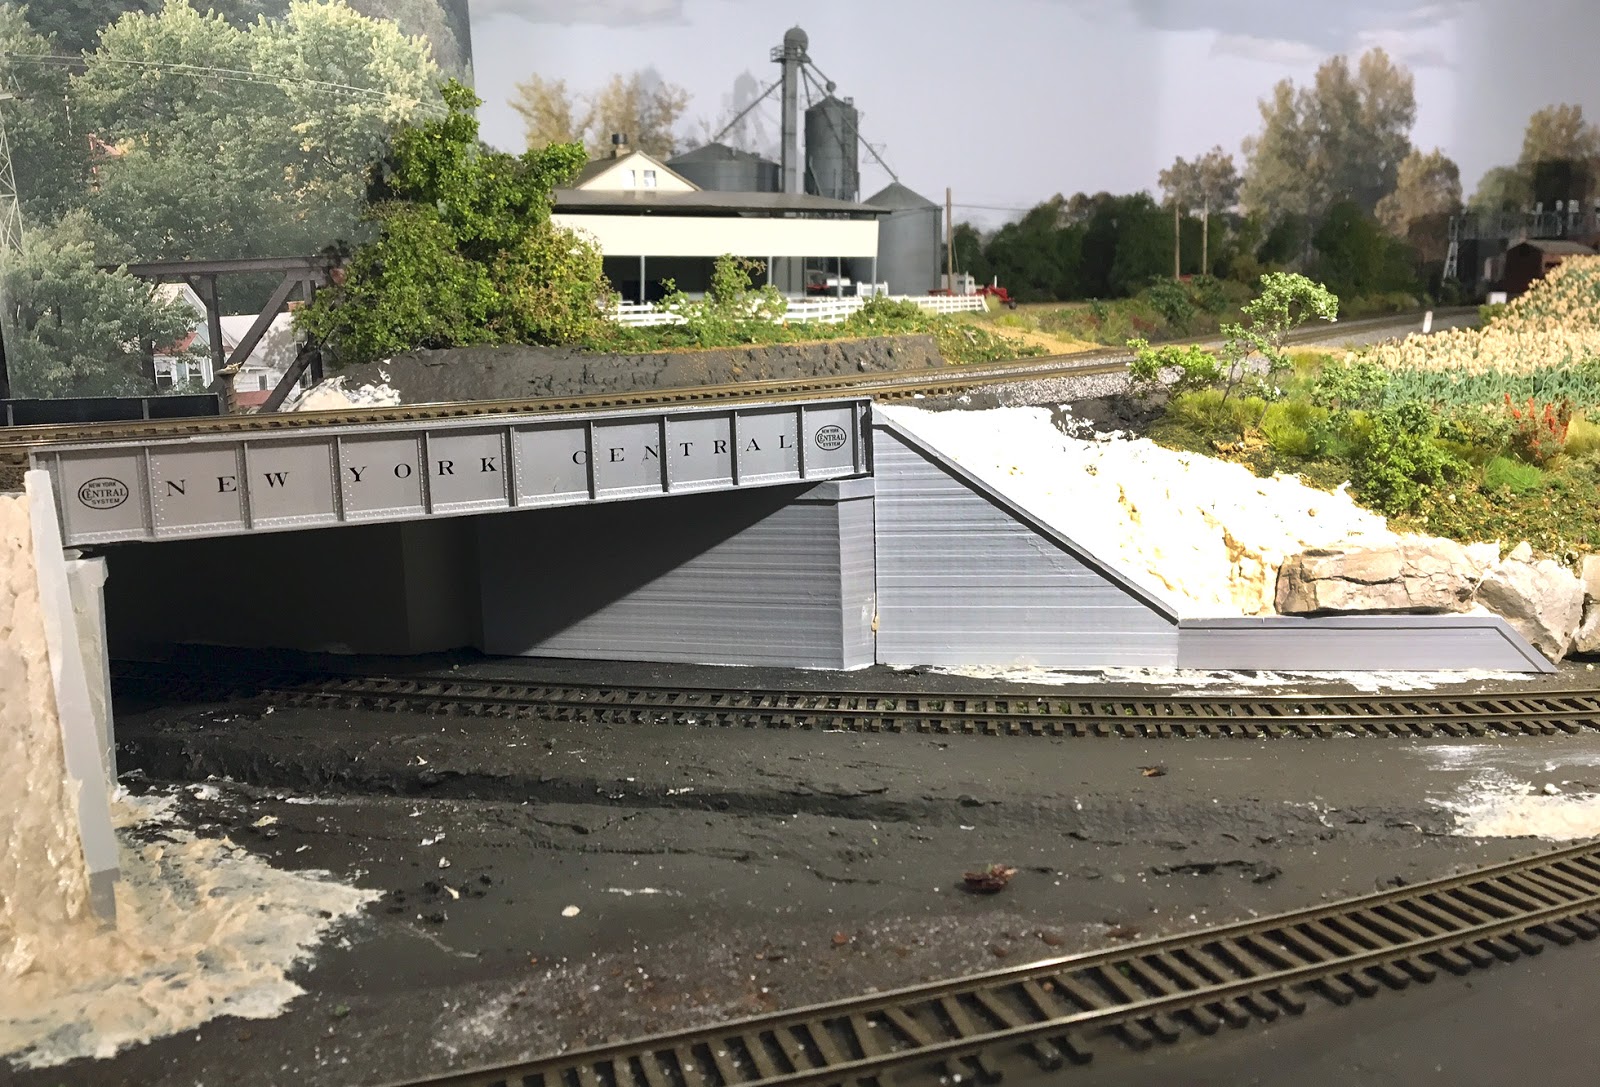
This year, we were invited to join the same group on their turf for a weekend of operations and open houses.  I was able to operate on two layouts that have long been inspirations to me:  Mat Thompson's Oregon Coast, and Doug Kirkpatrick's Virginian & Western.  Both were wonderful hosts, and both layouts are nearly complete with robust operations and amazing scenery.  So, I asked permission from the layout owners to share a few of my photos of their spectacular work here.

Friday I was at the Oregon Coast (another 'OC'!) hosted by Mat and Victoria Thompson:

 Jack & Tom hard at work at Hoyt Street Yard, Portland Oregon 

 Jerry working hard at the big Swift Meat Plant outside of Hoyt Street Yard

 Fabulous scenery on Mat's Oregon Coast - the Victoria local passing an abandoned logging camp.

 Friday evening social at Mat's after the session.  Great camaraderie!

 Saturday morning we find ourselves at Doug Kirkpatrick's incredible Virginian & Western, inspired by the Norfolk & Western in VA.  I'm quite partial to the signals, of course, but the hand-laid track is amazing and the scenery very convincing.

 The tail end of my freight train, 99, working at Jamestown Yard.  All cabooses are lit.  The depth of these scenes and the flowing trackwork are a pleasure to see.


Finally, another layout that does night lighting!  While Doug uses blue lights, the effect is wonderful with all the lit buildings and equipment he runs.  Here the switcher at Cincinnati waits in the clear while my train 96 rolls past.  


An overview of the station and mainline at Loraine, lit up after sunset. 


 Signals lit up for east and westbounds to meet at Falls Church, home to a local even overnight.

This was a weekend that I had looked forward to for a full year, and even given high expectations, the weekend exceeded them.  The layouts were wonderful, the operations satisfying and interesting, and the camaraderie reminded me there are still a lot of good people out there.  In short, this is one of the things that makes this hobby so special to us - it's all just good fun.

Happy Thanksgiving to you and your family!  

~RGDave

Monday, November 13, 2017

Filling in the Blanks

Progress comes in waves.  Scenery on a model railroad, much like other projects that are largely subjective, will linger for months or even years - and then once you begin moving on one part, you move to finish that and the next part falls in line.   There is a momentum to scenery, one good thing helps lead to the next.

With the embankment from the last entry now cured, I gave it an overcoat of paint to blend it in.  Note how the underpass for the Cazenovia Industrial, to the far left, virtually disappears now.  Once this is covered with foliage and trees it is going to blend in perfectly.


A closer view of the bridge, its abutments and wingwalls, and surrounding embankments:


Rolling with that momentum, it was time now to finalize the last piece of the embankment in this area of the layout, around undergrade bridge 279.17.  This is a tricky area with geometry, with a heavily skewed angle due to the geometry of the Cazenovia Industrial Track below the main line.

A first image shows the abutments and wing walls with a test fit.  It required two abutments one each side of the underpass, because when a bridge is skewed, the walls beneath get longer if the width above is constant.  This one is so skewed - approximately 50 degrees from square - that two abutments below, side by side, worked out well.   Those were glued in place with latex adhesive caulk, and allowed to cure overnight.   Then I set the wingwalls in place to see how those would fit.


The next step was to mix a batch of sculptamold and fill in the areas behind the wingwall, taking care to match the geometry of the landforms beyond.  I began with crumpled paper towels as a backer for the plaster.  The wingwalls are just set against the wet sculptamold, and carefully adjusted so that when the plaster cures, the whole assembly is solid.  Here's an overview once the contours were finished and the walls set in their permanent places:


And, finally, a tighter view showing the angle under the railroad.  The vision here is that the entire cut beyond will be heavily canopied with vegetation and tree growth, hiding the angle and the route of the track once it rounds the curve as seen here:


Plenty of paint and weathering are coming here soon, and once again the momentum of the scenery process will lead to regular progress into the wintertime.   My goal is to have both bridges fully weathered and mounted in place, and the surrounding area seen here completely covered with foliage before the end of the winter.  As always, I will keep you posted!

~RGDave

Tuesday, November 7, 2017

The Growth of an Embankment

Over the last several weeks, the embankment and bridge abutments at overhead bridge 279.89 have come together well, and as of last night are now at their final land form after being coated with a last layer of Sculptamold.  

Here are a few photos showing the foam stacks, providing a gentle sloped approach to the bridge that will support the road surface, and the duckunder for the Cazenovia Industrial Track visible to the left.  This is a tough part of the layout to scenic, with multiple viewing angles and several different elements that come together here.  How to make those not distract from one another?  We need the illusion that the branch is on a different alignment here.  It took some time over months and collaboration with Rich W. and Jason to make a decision.  

The goal with the duckunder is to make that particular aspect of the embankment disappear - there isn't room to build another bridge there without having it look forced, and it would distract from the main scene.  We will tree in around that area so that it is invisible to the viewer.


Once the foam was set and glued down using latex adhesive caulk, it was time to do the Sculptamold surface.  I installed some wax paper to protect the backdrops, and some tape to protect the tracks, and away we went.

As is the case with so much of the scenery process, the visual difference is stark once we complete different steps along the way.  Here are a few views of the completed plasterwork as it cures.   


Of course, it will look even better with paint, and much better still with scenery.  But these views help you see the direction we are going, and the view block is very effective even now.  The entrance for the Cazenovia to duck under will almost disappear with just the painting process as you can see here, and once the trees are planted around that area, I think trains coming down the branch will disappear and reappear with no distraction for the main scene.  

Progress like this is very satisfying and sets the stage for finishing the scenery here over the course of the next few months.  This will be a different view entirely before winter is through!

~RGDave