Thursday, October 27, 2016

A Five-Year Anniversary

Today is the day, 5 years ago, that I hosted the first 'official' operation session on the Onondaga Cutoff.  Six guys got together for a night of model operation and a few beers, and it was a great time that started a long line of sessions that will continue as long as we are able.

I did a quick post on the session that night, which you can find in the archives here on this date in 2011.


First, here's a commemorative shot of a few of the guys at the end of the session a few days after the 5-year anniversary.  This time we have, from left to right, Mark, Al, myself, Doug, Rich, and John - the room looks a lot different than it did then.


For the record, here's the 'staff' shot from that night after the session - five years ago and a different time in some ways.  I'm excited to see what the next five years bring!


Here from left to right we have Scottie, John, Nick, Jack, myself, and Mark.  Thanks, guys - more to come!

~RGDave

Tuesday, October 25, 2016

More Backdrop Progress

The first photo backdrop installation two weeks back on the Onondaga Cutoff led us quickly to the second, which included the backdrop behind the Island Yard.  As we learned the tricks for this effort, we were looking forward to doing the next one.  The Island is challenging, as it has only a few inches between the backdrop and the track closest to it.  As a result, the effect here is very critical to giving the scene some depth.

Here's the results!


The backdrop here allows the eye to immediately focus on the locomotives waiting for their call to duty as opposed to my simple efforts to paint the backdrop.  I feel it's just as effective from other viewing angles, as seen below.  First, a broadside view:


And, now a quick view down at the bumper block.  These views were completely amateur just a few days ago, and now appear to be part of a layout that is nearly fully sceniced.


As we worked to hang this backdrop, I took a quick overview shot at Jason's suggestion.  It's neat for how it shows the change in progress.  You can see the rubber cement spread on the masonite backdrop, and the thick wallpaper-like backdrop in the process of being hung.  The cement is strong enough to hold the backdrop while the glue cures.


The immediate visual impact of the backdrops dramatically changes the feel of the layout, and is an incredible change for the better.  It also is the last major step that has held back other foreground scenery progress on the layout.  As you can see, installation requires me to clear all equipment and structures from the layout due to the cantankerous nature of that process.

It's a busy and exciting time for the Onondaga Cutoff, there is a lot of progress coming in a short time!

~RGDave


Tuesday, October 18, 2016

A Sweeping Upgrade

Last night, we hung the first of the new photo backdrops on the Onondaga Cutoff.   This marks the beginning of the installation of the large, 12' long photo backdrops, the final step in was has been a 2-year process of planning, re-planning, research, design, and purchasing.   Backdrops are about the most visible, and least appreciated, of all the components of a layout, and I wanted to make sure that what I was installing was exactly what I would be satisfied with in the long term.

We started the installation on the M&E, since the backdrop here is stand-alone and not connected to other sections.  Better to make beginner's mistakes on an isolated area!  First, I moved all the rolling stock out of Euclid Yard, and then removed all the structures and building flats that had been in place for several years.  None of the scenic elements had been glued in place, as I expected that I'd have to move it all eventually for this process.


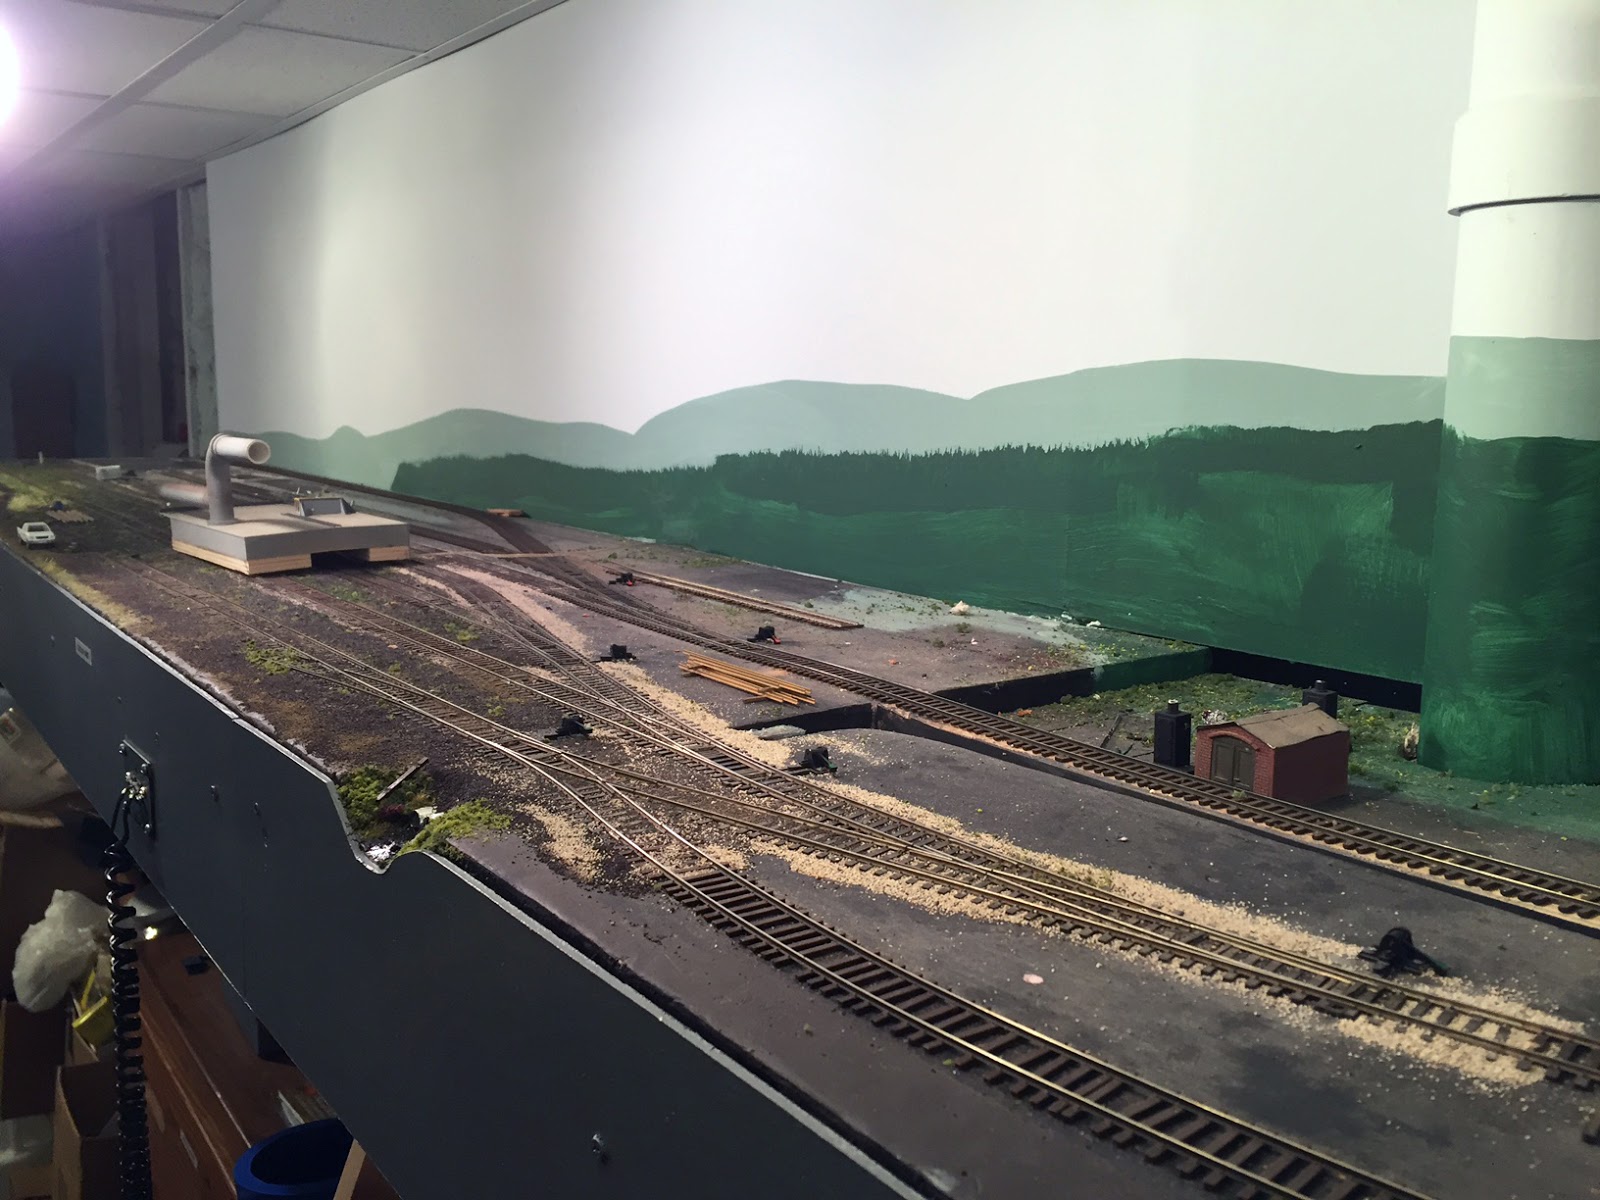
The original backdrop here is better than nothing, but is very primitive - I'm no artist painter!  Images like this are what made me take a hard look at my progress.  By 1980's standards, these backdrops would have been sufficient - not perfect, but good enough to match the quality of the models and other scenery.  With detailed and weathered models rolling on quality scale track, with scale ballast and foliage, the backdrops became an increasingly crude part of the scene.  Too much effort has been put into the rest of the railroad to settle for simple painted backdrops in shallow scenes.


The areas for the backdrops were measured very carefully, 3 different times on different days, to ensure the numbers were correct.  Jason and I cut the backdrops to fit, again measuring 3 times before making any cuts.  With custom prints, a wrong cut would be very difficult to deal with - there are no backups here!

Since this was the first try, we unrolled the whole sheet for a test hang with some painter's tape.  The measurements were correct and we were ready to begin.  I followed the directions posted at http://backdropwarehouse.com/Mounting6.htm - we were careful to think through each step and have a 'job briefing' before starting.  As suggested in that article, I used Elmer's Rubber Cement.  I brushed a 3-inch strip of cement vertically, as well as a 3-inch strip horizontally at the top, middle, and bottom of the painted backdrop.  Working foot by foot, we fastened the left side first, and then I unrolled and gently pulled the backdrop along while Jason used a new, try 3/8" nap paint roller to push the backdrop into the wet cement.  We had to re-adjust several times as we started to get the perfectly level installation, and the cement allows for that since the paper was such a heavy grade.

As we worked along, it quickly became apparent that this was going to be a sweeping, dramatic improvement to the scene.  Once we started, it was a continual process to spread glue, unroll, press into place, then spread more glue, etc.  It went quickly once we began - the planning had paid off!

After it was unrolled, we stood back, and it really impressed us.


Suddenly, this scene developed a depth and level of detail that would have been virtually impossible with paint.  The paper was nicely adhered to the backdrop, and so I put some structures and foliage back on the layout, and moved the cars back in - and the results are really something else.  Here's a view looking railroad south towards the Peter Doelger Brewery:


Even with no additional ballast or foliage work, the 'finished' look of the scene is very apparent!  With that level of detail, my simple mock-ups for the brewery itself have been replaced with some simple flats temporarily until I make time to assemble the brewery structures, weather them, and install them permanently.  


 Finally a close up view of some equipment in the yard, again showing how the backdrop alone takes this scene from a simple, unfinished view to a view with unlimited depth, allowing focus to fall on the stars of the show - the rolling stock.  Even this old Model Die Casting flat car that I built in high school looks good!

I'm excited with this, and this really gets me inspired to keep the ball rolling and get the rest of these backdrops up this fall and winter.  Jason will be helping with the cuts and the installations, so watch for more of those soon.  It feels like we have turned a corner on the Onondaga Cutoff - now, with this in place, the 'final' versions of these scenes come into focus and will be moving forward.  This is an exciting step in the right direction and a top-notch compliment the operation!

~RGDave

Friday, October 14, 2016

Scenic Progress - the Interstate

The route of the Onondaga Cutoff roughly follows Interstate Highway 481 south of Syracuse, through Ram's Gulch, and over towards Fayetteville and Dewitt.  Including a piece of it was a key way to link that part of the layout to a prototype location, increasing the authenticity and sense of place.

Thanks to the skills of a buddy of mine, the Onondaga Cutoff has a new scene that dramatically transforms one of the most visible parts of the layout.  Jason W., a fellow HO scale modeler that has attended a few operating sessions and is skilled at building model roadways, generously offered to construct a scene I had planned in front of Iroquois Paper.


We measured the location and built a scale plan, and Jason then built the scene on his workbench. Once it was constructed, he moved it to the layout space, and we built a support system to mount it on the benchwork.

Jason build the base for this out of thin plywood sheet, then used foam roadbed to build up the height of the road surface, which was constructed from sheet styrene, then painted and decaled to produce a very realistic roadway.  He finished the scene with various details, correct signage, and even painted expansion cracks, suggesting an older highway with concrete underlay, similar to many highways in the Northeast.

One of the best parts of this is the new scene covers the mainline loop east of CP294, where it happened to run alongside the mainline east of CP277.  Since the locations are 13 miles apart, we needed something to provide the illusion that the only mainline track here in this scene is the track adjacent to Iroquois Paper at MP 276.9.

I'm thrilled with how this turned out!  As you can see, it is not finalized - currently it is set in place, pending final installation of photo backdrops and surrounding scenery base.  Once the backdrops are in place later this fall, this scene will be fastened down, and the rest of the surrounding scenery will quickly blend this scene into the layout. This scene will only get better, but it was time to show you how much it has improved already!

~RGDave