
I began by assembling pieces of several kits and setting them in place to get a feel.

We have the Rix Products concrete viaduct piers in the foreground, and the Walthers Double Track through truss rough assembly behind. This is a big visual change and so it's important to mock up the general idea before deciding on the exact approach and location. I decided I'd like to handle this with an overhead highway bridge, evocative of the big through-truss spans that were common across Central New York through the 20th century - including one that stood at the west end of Dewitt Yard in Syracuse, NY.
Such roadway bridges are not as common as I expected in HO scale, short of custom brass models - and I cannot justify spending hundreds and hundreds on a bridge that won't carry trains. I decided to use a Walthers through-truss kit, and kitbash it to better resemble a highway bridge. (The concrete bridge seen above will be located further east in the town of Fayetteville.)
The stock Walthers truss is a kit for a bridge to carry railroad tracks. While similar, highway truss bridges tend to have bridge members that are somewhat smaller in size, since they carry less weight. To capture that feel, I used the trusses and floor system from the Walthers kit but replaced most of the bracing with lighter-gauge lattice from Micro-Engineering city viaduct kits. Some splicing was required. Those pieces were allowed to cure overnight.

It's summertime, and that means lots of time with the kids. I brought the kit and my tools up from the basement and worked on the kitbash while they played. You can see the main kit on the right above, and the ME kit to the left, with a happy 6-month-old Pete behind in his bouncer (which he loves).

Later, as I enjoyed coffee and the kids ate breakfast, I brought the project to the kitchen table and continued my work. I inserted the assembled lattice kitbashes, and glued the trusses to the floor system all at once while the kids asked questions. Susie helped (under a watchful eye) with some of the assembly.
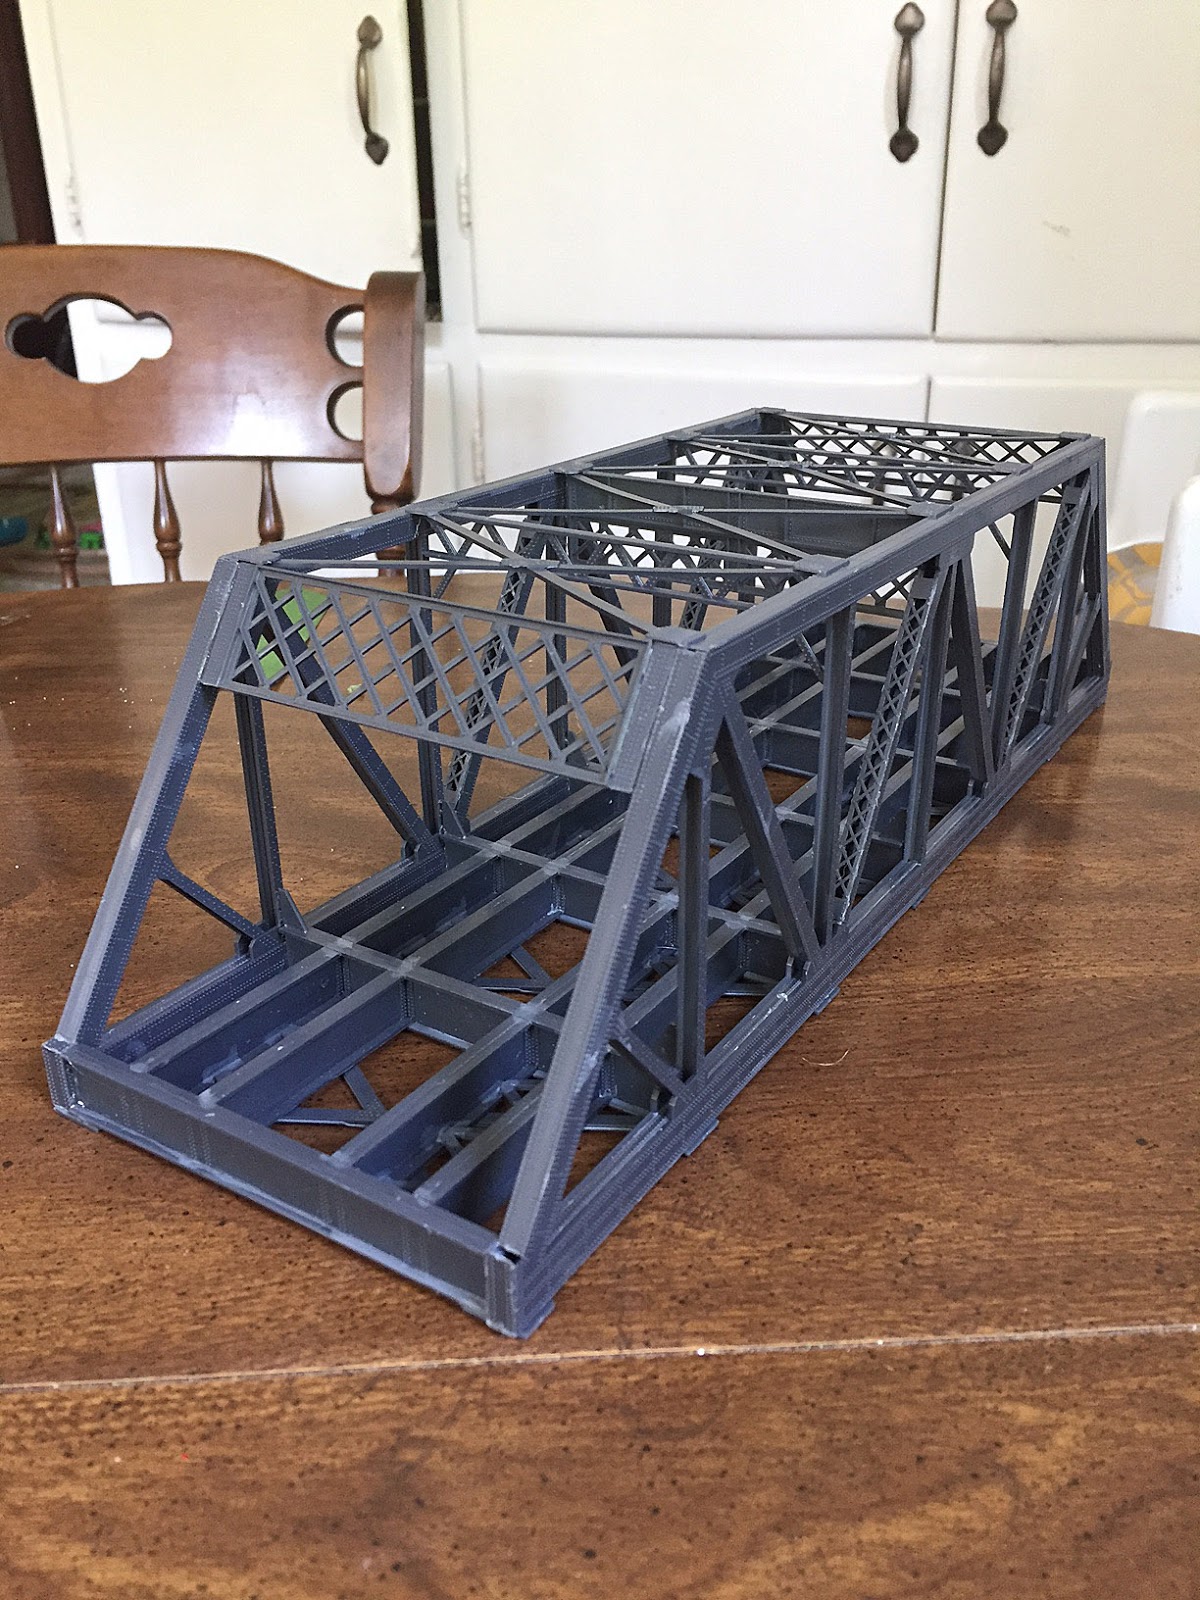
Here's the current status of the bridge, which will get Micro Engineering bearings and DOT green paint and weathering before a concrete-and-asphalt deck. You can see the lacy horizontal webbing, which is much more evocative of a highway span than of a railroad span. I also used the stock ME bracing lattice on several of the vertical members, helping too do differentiate this bridge from the stock kit.
Given its prominent location on the main line, this will be the centerpiece of the next scene. It's fun to share some of the assembly process with the kids, and to see this scene get started. We are setting up for a fun autumn and winter of progress on the Onondaga Cutoff!
~RGDave
P.S. - enjoy the rare total eclipse of the sun today, which will be going on when this blog entry is posted!