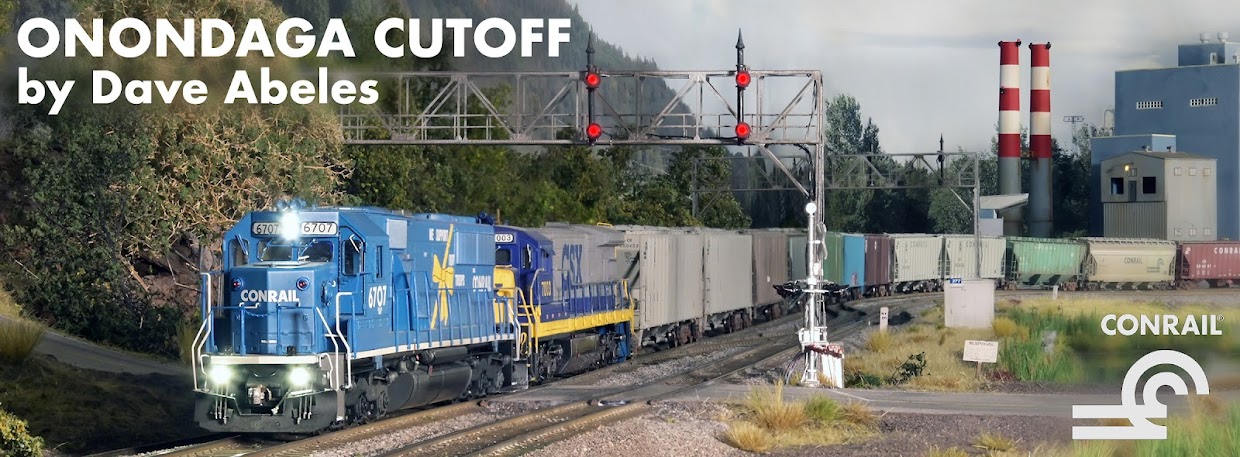
A few projects have been in the works lately, the sorts of projects that fit around life and work and the things that keep families moving forward.
The first of these has been a recent focus on finally getting my model of LMS 702, a GE C40-8W, up to snuff. LMS stands for 'Locomotive Management Services' and was a subsidiary of Conrail and Canadian National, as Union Pacific was reportedly also interested but backed out. These units were ordered in an effort to buy a pool of locomotives that could be used on either railroad in times when the company was short of power: the Canadian grain rush for CN, and the fall peak intermodal season on Conrail.
In any case, these locomotives were built for LMS and delivered in Conrail colors but simple block lettering for LMS, numbered up from 701.
They were C40-8Ws, but were built late for a Dash-8 - in fact, concurrent with C41-8W and C44-9W builts at the GE plant in Erie, PA. As such, these last Dash-8s came with a Dash-9 radiator cap, and with Dash-9 style grab irons on the nose. Otherwise, they are straight Dash-8's. Therefore, they are fairly unique in the world of widenose GEs. I wanted to change the Atlas model into one that matched the prototype.
This meant cutting into a nearly finished model, one with auxiliary lighting in place thanks to Garden State Modelworks. Not a good idea! And not an ideal change at this point. But we do what we gotta do, right? This project had been occupying space on my cluttered, overbusy mind for years and years. Time to eliminate the rent-free guest.
Rest assured, it's not a good feeling for me either to cut into an expensive model like this. Not fun at all. But we do need sometimes to remember that improvements take some demo sometimes. The Dash-9 radiator cap, seen in the bottom above, is available from Kato directly as their part 966000. But it's a bigger piece than the Dash-8. So we pop the Atlas part off, and cut to make the new part fit. Little by little!
A motor tool, like my Dremel above, makes some of the grinding and cutting easier. Slow and steady wins during kitbashing, though. Take your time. The first part is the sides, and the back needs a razor saw cut to make the narrow, even slice to preserve the rear hood.
Put it in, then remove it and work a bit more to get the fit just right. It's a slow and delicate process, but worth it. And once we start, there is no going back, so don't overdo it!
Test fits came out well, though. Some underside of the new piece also needed trimming, little by little. Once it was good, I used Testors plastic cement to fix the new radiator in place. And...it didn't work, as the Kato plastic did not take to the glue. I turned to Walthers Goo inside the shell which did a great job.
While that cured, I reworked the nose, drilling new holes and bending wire grab irons as well as installing upgraded (and blue) sand fill caps per the prototype.
Those cured as well and it was time for paint. Grabs were easy with the microbrush, but the radiator required a lot of masking so the Scalecoat II spray paint wouldn't ruin the factory decorations.
With a bit of weathering and an overspray of dull coat, though, we can now see the difference - the LMS unit on the left and a stock Conrail C40-8W on the right. Note the thinner Dash-8 profile, and the three core sections of radiator on each side, compared to the deeper Dash-9 section with just 2 sections per side. I am thrilled with the finished product - a subtle detail upgrade that puts to rest a longstanding pet peeve, and now adds just a little variety for operators. Here we go!


No comments:
Post a Comment