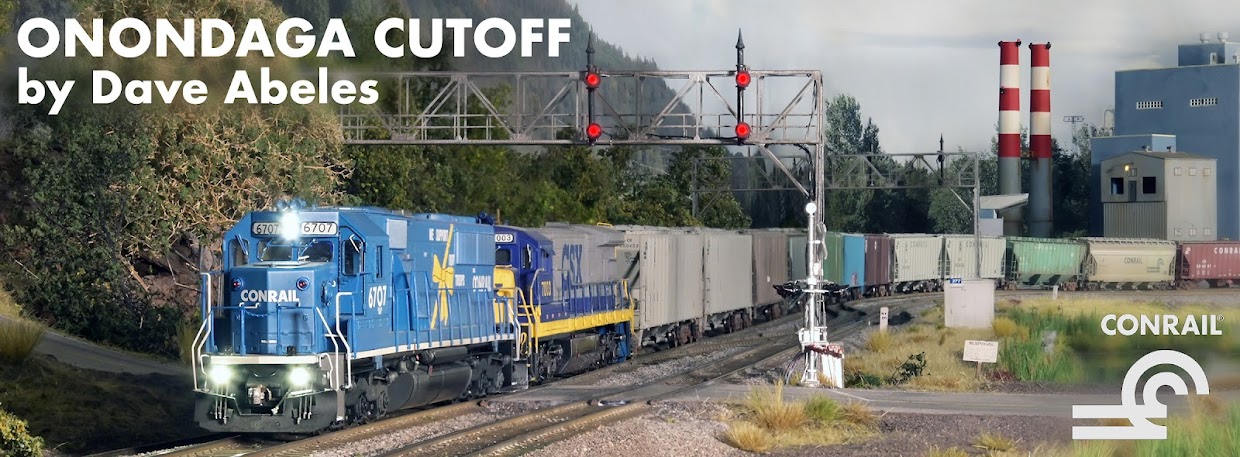
While most modelers pursue layouts set in a time when railroads were far more populated and far more visible to the public, that is not the case for us that model the 1980's and later. For us more modern modelers, the towers, local stations, passenger trains, freight houses, gatekeepers, cabooses, and clerks are mostly all gone. What is left for the public to experience? Grade crossings. For today's kids, the same is true. There may be more trains than in 1990, but odds are if young railfans sit trackside it is close to a grade crossing. It follows then that the Onondaga Cutoff needs a grade crossing with a public road.
Basics - where should we put it? Well, that's a big challenge for the OC. Much of the track is routinely blocked by trains while they work at Onondaga Yard, a situation the prototype would have avoided. So, the crossing will need to be in a spot unlikely to be blocked by stopped trains. That leaves us with only a few to choose from. The best was just outside CP 277, and this also mimics similar setups at the actual CP 308 near Weedsport, NY.
The road will need to slope up behind the tracks, so as to climb the view block for the hidden trackage west of CP 282. Scenery will help to ease the eye and make the scene more convincing.
My recent ballasting effort cured and is now in place, and it's time to embark on installing the crossing.
I had done some research from photos online as well as my own photos of the Chicago Line in 1995, and Conrail's method for most paved grade crossings was to use railroad ties bolted to the track ties, mounted parallel to the rails. This left a gap on each side of the rail, which helps to keep the asphalt intact longer than if the pavement extends right to the rail itself (which moves considerably under high-speed, high-tonnage traffic). I stained up a bunch of ties from Northeastern Scale Lumber to use for that purpose, and secured them with Walthers 'Goo' adhesive.
That was allowed to dry overnight, and then it was time to fit in the styrene asphalt pieces from Jason. Some minor filing was needed. I made sure to leave plenty of space for the flanges of passing equipment, and checked and re-checked this before finalizing. The roadway was allowed to dry overnight in place, weighted to ensure good adhesion, and then it was time to fill in around it.
I favor Sculptamold for this purpose: it is far more easy to work, and dries lighter than regular plaster due to the infusion of fibers into the mix. It allows for smooth transitions which help the new items blend in. I filled in the areas to suggest the roadway shoulders and earthwork to plausibly combine the man-made road into the man-made right-of-way, which took some experimentation. Masking tape was used to protect the finished road, and probably would have been a good idea for the track too, although I was able to avoid too much mess.
Once the plaster was in place, I removed the tape for clean up and let it set overnight. Next time we will look at making the rough landform into part of the surrounding scenery, which will really transform the scene.
It's a busy month of modeling on the Onondaga Cutoff. Plenty more to follow, as well!
~RGDave


Looking very nice Dave. I get inspired seeing landscape modelling like this.
ReplyDeleteThanks Rob! It’s amazing how quickly the whole atmosphere changes with basic scenery. It’s worth the plunge to get started, that’s for sure.
ReplyDelete